MySQLをセットアップ
前回ApacheとPHPをインストールしました。今回はMySQLをセットアップしたいと思います。
$ sudo mysql_secure_installation ↵

Securing the MySQL server deployment.

Connecting to MySQL using a blank password.

VALIDATE PASSWORD PLUGIN can be used to test passwords
and improve security. It checks the strength of password
and allows the users to set only those passwords which are
secure enough. Would you like to setup VALIDATE PASSWORD plugin?

Press y|Y for Yes, any other key for No: y ↵

There are three levels of password validation policy:

LOW    Length >= 8
MEDIUM Length >= 8, numeric, mixed case, and special characters
STRONG Length >= 8, numeric, mixed case, special characters and dictionary                  file

Please enter 0 = LOW, 1 = MEDIUM and 2 = STRONG: 0 ↵
Please set the password for root here.

New password: パスワード ↵

Re-enter new password: パスワード ↵

Estimated strength of the password: 25
Do you wish to continue with the password provided?(Press y|Y for Yes, any other key for No) : y ↵
By default, a MySQL installation has an anonymous user,
allowing anyone to log into MySQL without having to have
a user account created for them. This is intended only for
testing, and to make the installation go a bit smoother.
You should remove them before moving into a production
environment.

Remove anonymous users? (Press y|Y for Yes, any other key for No) : y ↵
Success.


Normally, root should only be allowed to connect from
'localhost'. This ensures that someone cannot guess at
the root password from the network.

Disallow root login remotely? (Press y|Y for Yes, any other key for No) : y ↵
Success.

By default, MySQL comes with a database named 'test' that
anyone can access. This is also intended only for testing,
and should be removed before moving into a production
environment.


Remove test database and access to it? (Press y|Y for Yes, any other key for No) : y ↵
 - Dropping test database...
Success.

 - Removing privileges on test database...
Success.

Reloading the privilege tables will ensure that all changes
made so far will take effect immediately.

Reload privilege tables now? (Press y|Y for Yes, any other key for No) : y ↵
Success.

All done!
続いてPHPMyAdminをインストールします。
$ sudo apt -y install phpmyadmin ↵
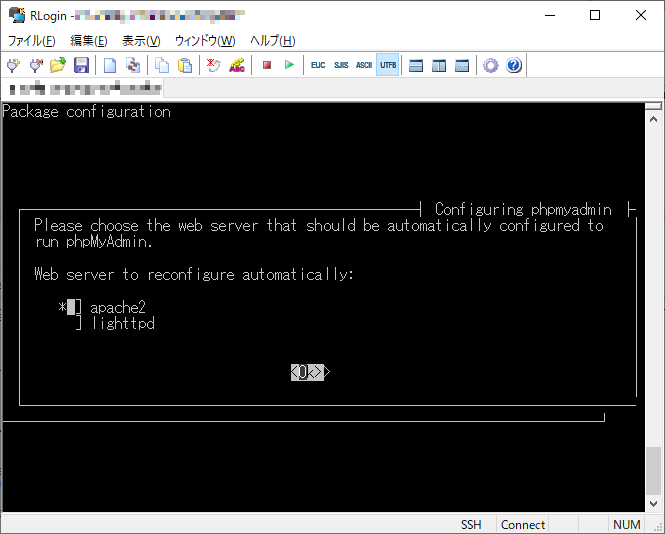
Apache2を選択します。
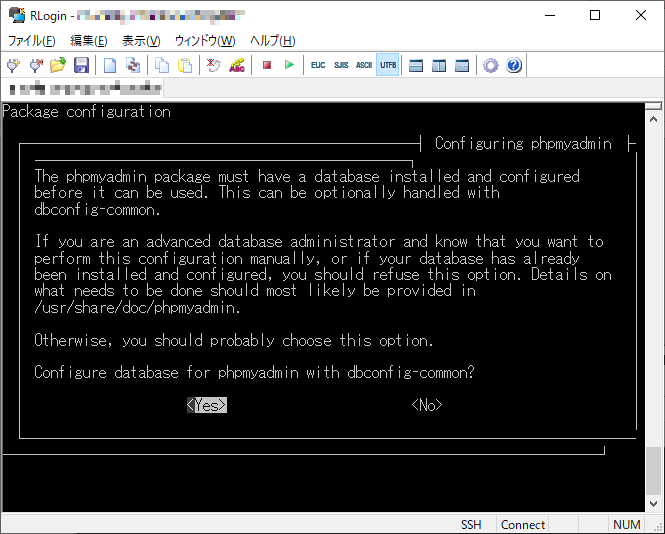
Yesを選択して設定を進めます。
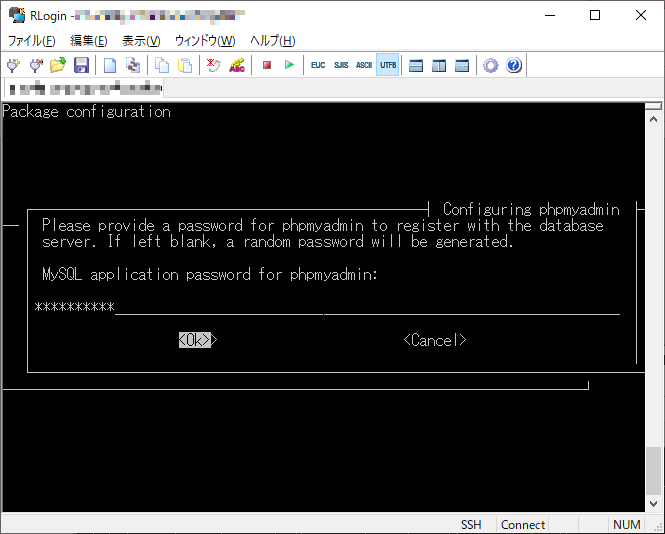
パスワードを登録します。
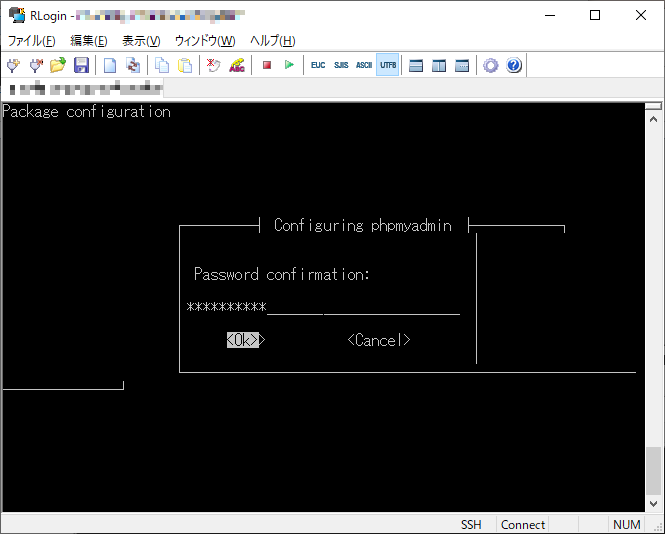
もう一度パスワードを入力して確認します。
ブラウザでhttp://○○.local/phpmyadmin/にアクセスして確認します。
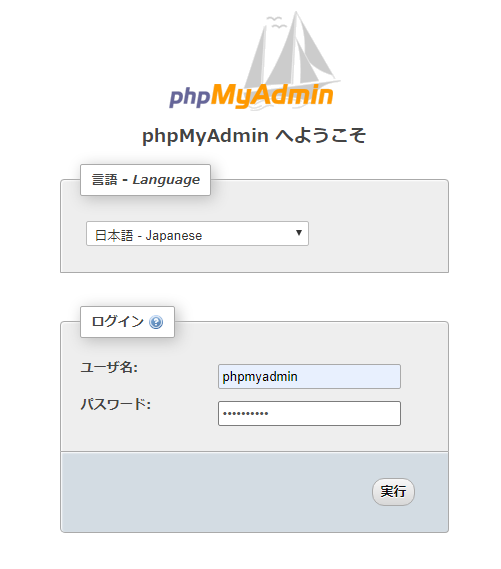
先程登録したパスワードを指定してログインします。
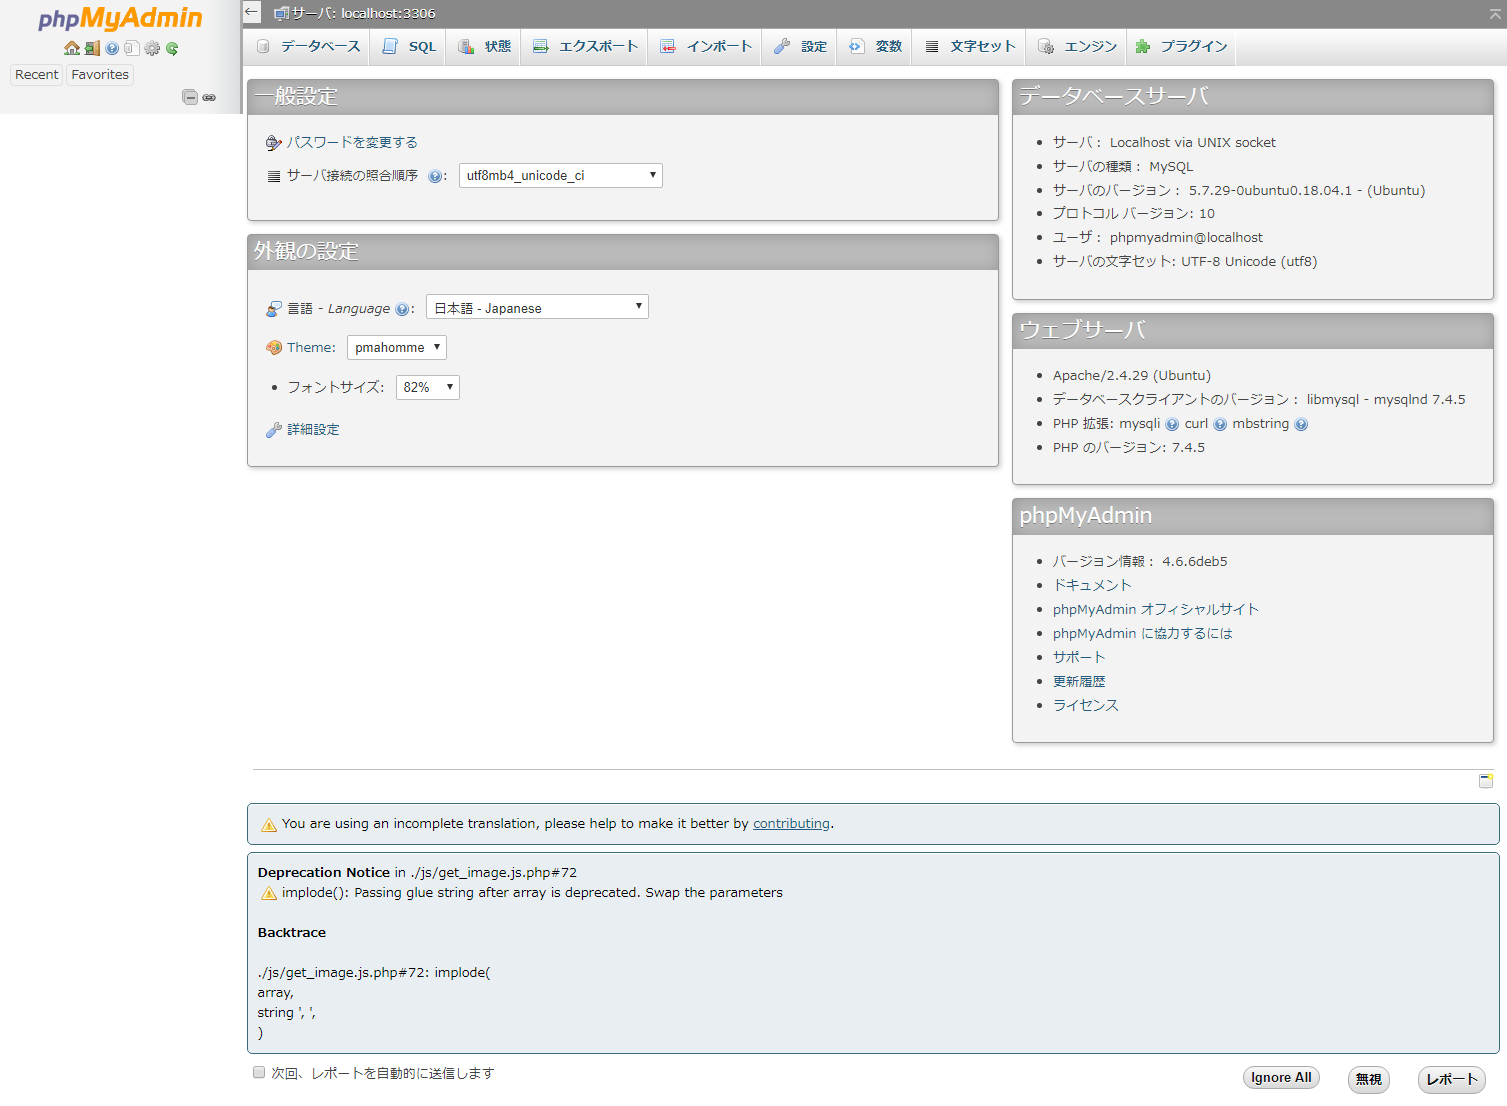
ログインできましたが、何かワーニングが出力されています。
調べたところimplode()の引数ですが、PHP7.4では非推奨の使い方をしているようです。
/usr/share/phpmyadmin/js/get_image.js.php
<?php echo implode($keys, ",\n ") , "\n"; ?>
引数の順番が逆のようですので、次のように修正します。
/usr/share/phpmyadmin/js/get_image.js.php
<?php echo implode(",\n ", $keys) , "\n"; ?>
ブラウザを再読み込みします。
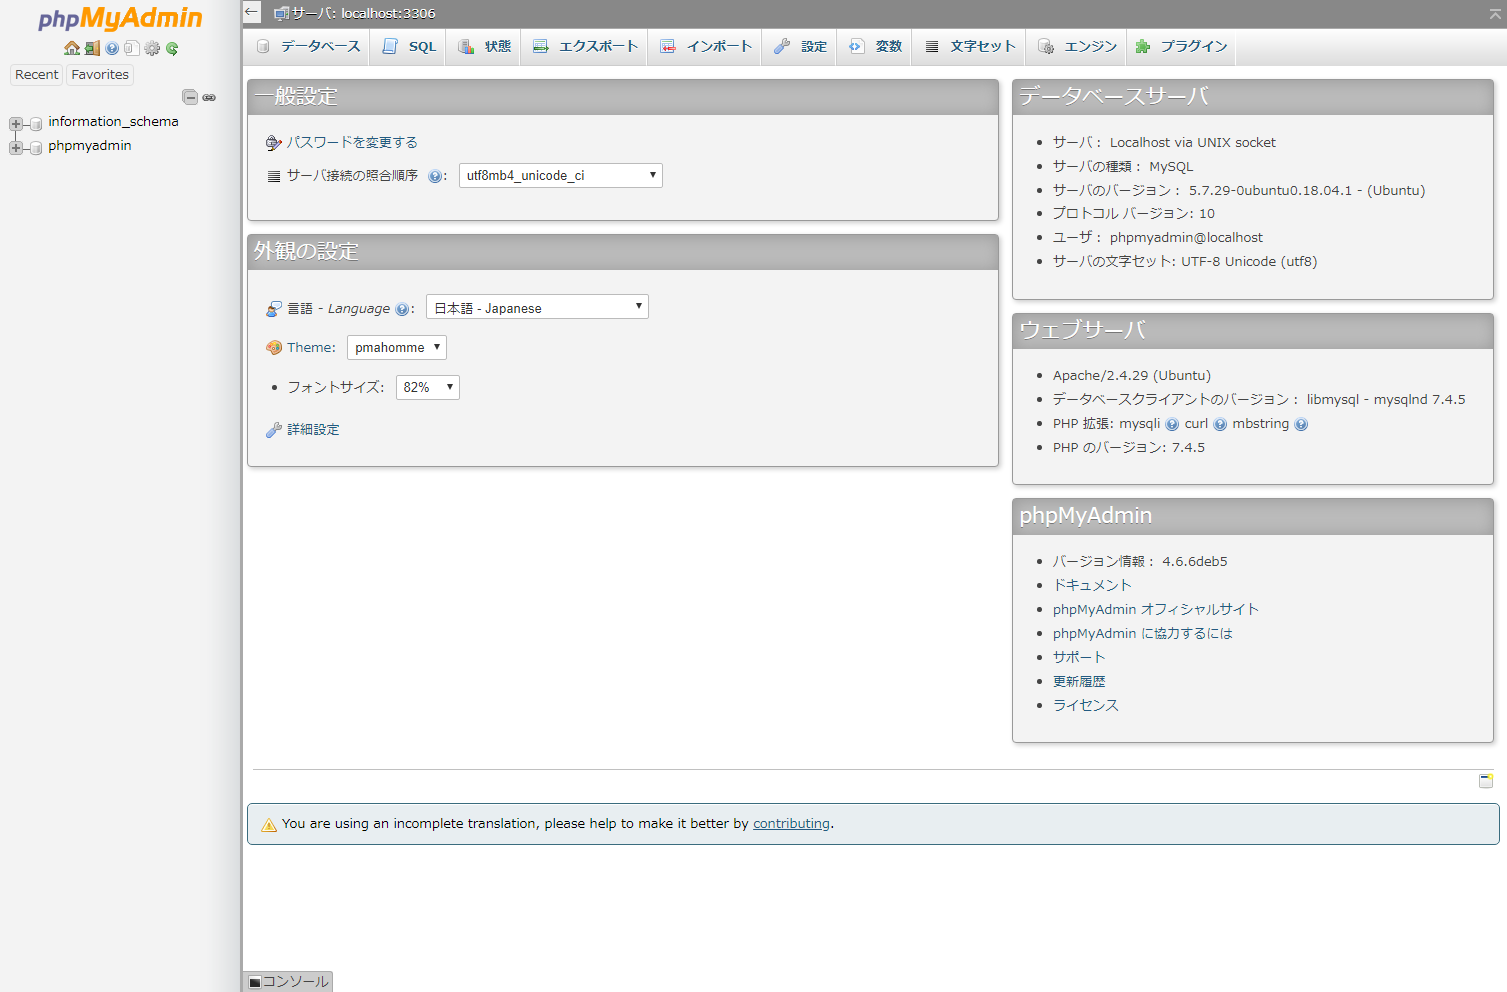
ワーニングが消えました。
MySQLの設定ができました。
次は、CakePHPのインストールになります。